You can purchase the ivory pom mobile in my store. Head on over to Ailee's blog to see more gorgeous photos and to get the rest of the product sources.
Showing posts with label Girl's Room. Show all posts
Monday, November 24, 2014
A Golden Nursery
I might be a little biased, but I do think that I have some very talented customers. Every time I see how someone has used one of my cushions or mobiles I get so excited. So you can imagine how I felt when I saw these images from the beautiful nursery Ailee has created for her gorgeous little girl Isla. So pretty!!
You can purchase the ivory pom mobile in my store. Head on over to Ailee's blog to see more gorgeous photos and to get the rest of the product sources.
Monday, October 13, 2014
Design Inspiration
![]() |
| Milka Interiors |
One of the things I am loving is the amazing amount of talented interior designers that are around at the moment. Whether you are a DIYer or someone who likes to pay for a job well done, the ideas out there are endless.
![]() |
| Nest Design Studio |
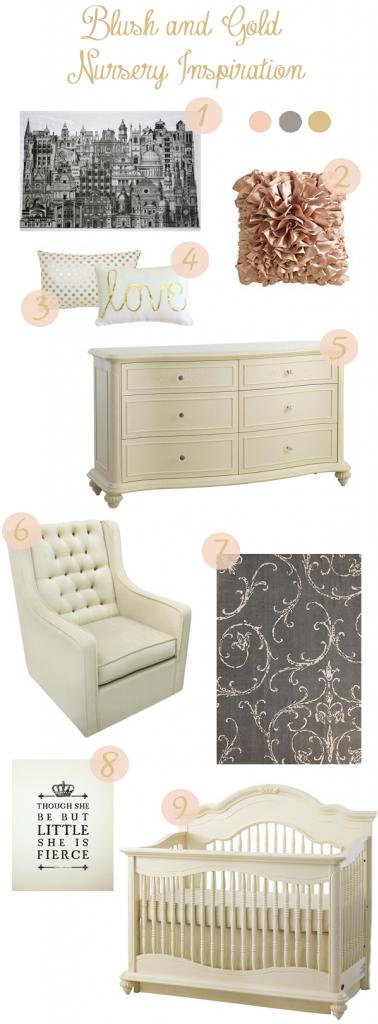
Here are a couple of inspiration boards that I've been lucky enough to be included in lately. The Gold heart cushion and gold love cushion both available in my store.
![]() |
| Little B Styling |
Thursday, May 22, 2014
A Beautiful Girl's Room by Bubkess
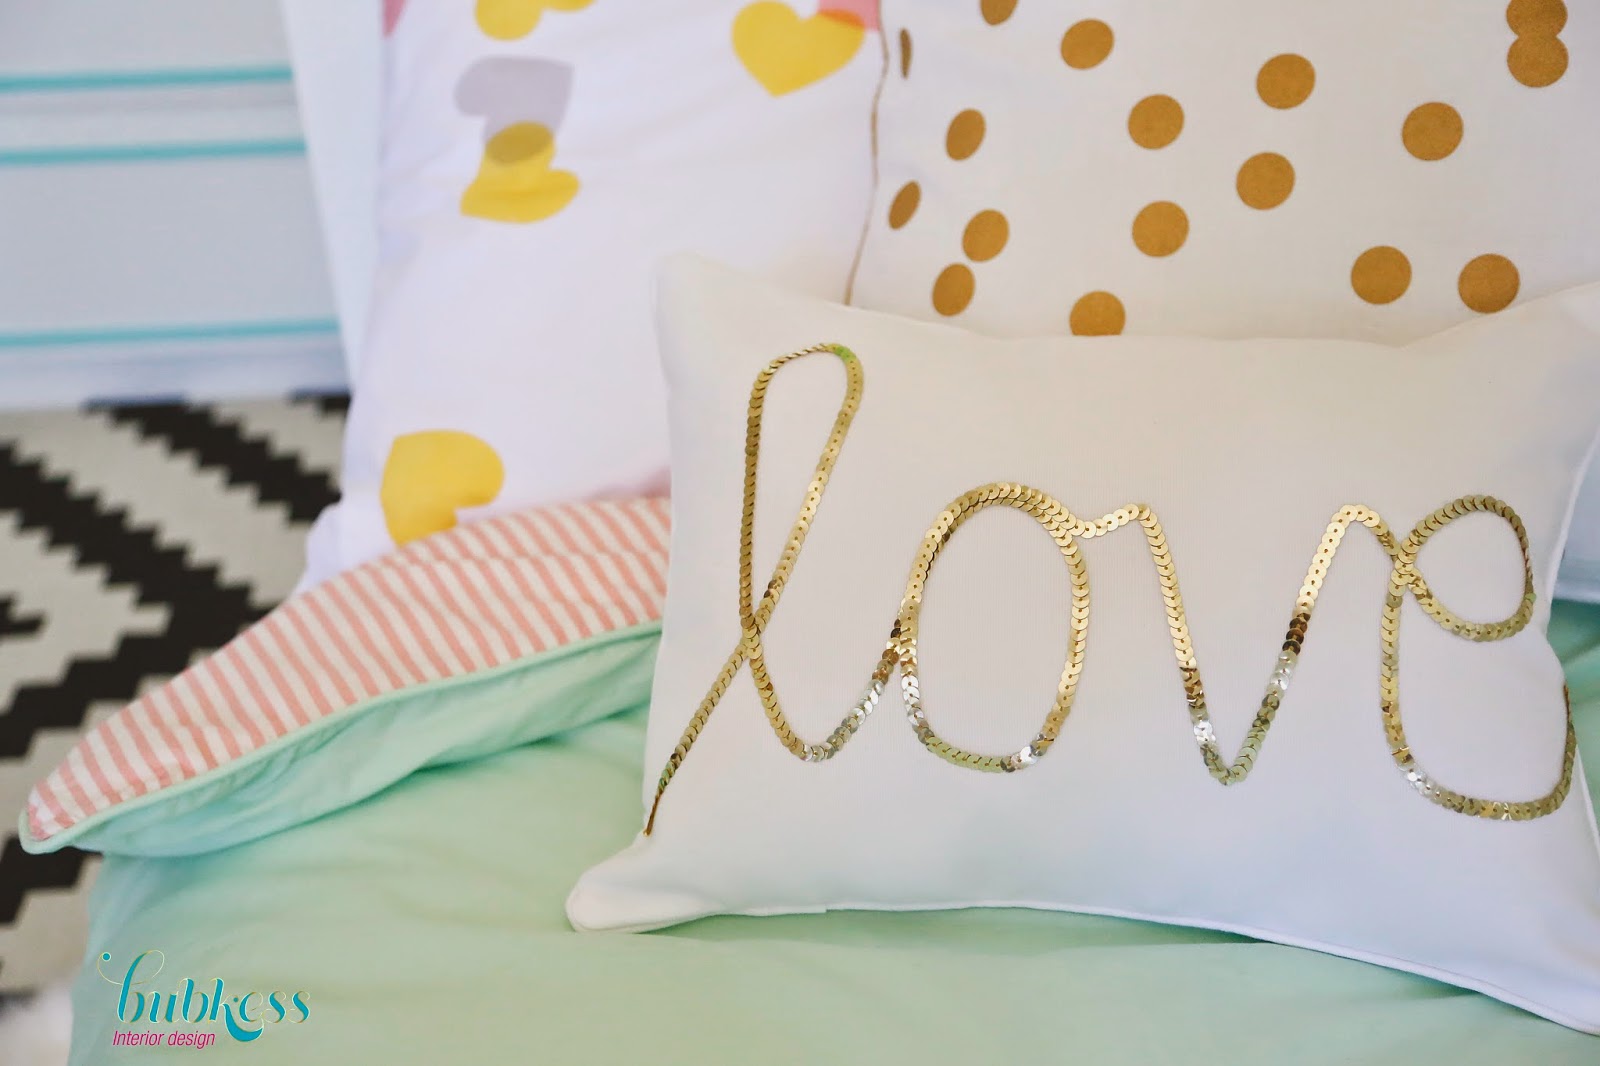
Every now and then a gorgeous new room pops up in my instagram or facebook feed and makes my heart sing. This nursery from the very talented Deborah over at Bubkess is one such room. I could be a little biased because she's included one of my gold love cushions, but I don't believe so. I genuinely think this is my favourite kids room reveal that I have seen all year!
There are a whole lot more photos of this sweet space over on the Bubkess Blog, so many gorgeous details to pour over (along with a few fun DIYs)!!
Wednesday, October 16, 2013
Holly's Room
Today one of my favourite interior designers (Bel from Petite Vintage Interiors) is sharing the very gorgeous room of her little girl Holly. It's such a gorgeous mix of handmade, designer, diy and vintage finds. I'm in love!! It's the exact look I would want for my own (imaginary) daughters room!
Head on over to the Petite Vintage Interiors Blog to see the rest of the gorgeous photos and a full list of supplier details.
Friday, March 8, 2013
Sharing the Love
This week has been a crazy one. Sean jetted off to a fancy corporate conference leaving me alone with my two gorgeous little boys. We survived (and had fun), but we were all definitely very happy to see him when he walked in the door this afternoon! I was so happy that the first thing I did was palm the kids off on to him and go shopping on my own. I didn't buy anything, but I did get a much needed haircut. My thick glossy pregnancy hair has started falling out in handfuls, and what I was left with was anything but thick and glossy... I had a good 15cm cut off and it feels so much healthier now.
Anyway seeing as I was solo parenting this week and busy with orders I don't have a 'real' post to share, so I thought I would link to a couple of gorgeous mood boards floating around the web that feature my products. I always get such a kick out of seeing that actually likes my stuff! And yes I still pinch myself every time I get a sale :)
So jealous of all these lucky bloggers that get to plan out sweet little girl's rooms! Maybe one day I'll get that chance, all I have to do is convince Sean that we need more babies. Easier said than done!!
I hope you all have a great weekend!
![]() |
| (another awkward selfie taken in my bathroom...) |
Anyway seeing as I was solo parenting this week and busy with orders I don't have a 'real' post to share, so I thought I would link to a couple of gorgeous mood boards floating around the web that feature my products. I always get such a kick out of seeing that actually likes my stuff! And yes I still pinch myself every time I get a sale :)
![]() |
| Lil Sugar - Ribbon Mobile |
![]() |
| Love & Lace - Pom Mobile - Love Cushion |
![]() |
| The Doctor's Closet - Pom Mobile - Love Cushion |
![]() |
| The Everygirl - Gold Dipped Jewelry Dish |
![]() |
| Johanna Lynn Johnson - Love Cushion |
So jealous of all these lucky bloggers that get to plan out sweet little girl's rooms! Maybe one day I'll get that chance, all I have to do is convince Sean that we need more babies. Easier said than done!!
I hope you all have a great weekend!
Thursday, November 8, 2012
Prettying up those Mason Jars
This week I am *officially* on maternity leave (39 weeks, 2 days and counting!), so I'll be re-posting a couple of DIYs from my archives. I also have a HUGE giveaway coming up later in the week, make sure you check back for that soon!
***
Recently my sister and her two beautiful girls shifted to Brisbane and moved in with us. From the moment I found out they were coming to stay, all I could think about was that I would finally get the chance to decorate a girls room!
My oldest niece Ava is 6 years old and loves all things girly. Which, when it comes to designing a room is pretty much my dream come true!!
The plan is to start out small, to stick to a very tight budget and to create things that can easily be moved to a new room when they get their own place.
We got started this week and made a little stationary station for Ava to keep her colouring pens and crayons in.
We decided on a tray (which was an old photo frame spray painted white), with a collection of jars to hold her things.
Here's what we came up with...
1. Place strips of double sided tape around the jar up to the height that you want the glitter.
2. Cover all the tape with glitter!
3. *Optional - I went back later and covered the clear glass with painters tape and then sprayed a coat of clear gloss over the top of the glitter. That glitter is definitely staying put!
1. Using puff paint draw your faux bois pattern all over the jar.
2. Once dry spray with several thin coats of white spray paint, letting each coat dry in between.
1. Add double sided tape to the back of a ribbon and attach to the glass.
2. Hot glue a pretty bow to the ribbon.
1. Wrap strips of double sided tape around the jar and then coat with glitter.
2. I did the three gold strips first and then came back and did the two pink ones.
The best part? Ava absolutely loves it!
(First posted January 2012)
***
My oldest niece Ava is 6 years old and loves all things girly. Which, when it comes to designing a room is pretty much my dream come true!!
The plan is to start out small, to stick to a very tight budget and to create things that can easily be moved to a new room when they get their own place.
We got started this week and made a little stationary station for Ava to keep her colouring pens and crayons in.
We decided on a tray (which was an old photo frame spray painted white), with a collection of jars to hold her things.
Here's what we came up with...
1. Place strips of double sided tape around the jar up to the height that you want the glitter.
2. Cover all the tape with glitter!
3. *Optional - I went back later and covered the clear glass with painters tape and then sprayed a coat of clear gloss over the top of the glitter. That glitter is definitely staying put!
1. Using puff paint draw your faux bois pattern all over the jar.
2. Once dry spray with several thin coats of white spray paint, letting each coat dry in between.
1. Add double sided tape to the back of a ribbon and attach to the glass.
2. Hot glue a pretty bow to the ribbon.
1. Wrap strips of double sided tape around the jar and then coat with glitter.
2. I did the three gold strips first and then came back and did the two pink ones.
The best part? Ava absolutely loves it!
(First posted January 2012)
Wednesday, October 31, 2012
Pinterest Challenge # 5
I have so many exciting projects on my pinboards that I should probably be working on right now. But with being 38 weeks pregnant I decided to tackle a nice and simple (and very sweet) project that I've wanted to do for just about ever.
A pretty little birdie jar.
I originally made it as a gift for Georgia's first birthday, but it accidentally got broken. Re-making it gave me the perfect opportunity to also use it as my pinterest challenge project :).
The inspiration came from this gorgeous Aussie blog and as you can see I really didn't vary mine much from the original at all. The main thing I did differently was use red and pink so that it would look good in Georgia's very gorgeous red and pink nursery.
Supplies:
- mason jar (I used a large moccona coffee jar)
- fake moss
- stick / branch
- fabric scraps
- needle and thread
- ribbon
- birdies (I found mine at spotlight)
- hot glue
- tacky glue (optional)
- iron on interfacing
- small plate or circle (for tracing)
- scissors
- rubber band
I started out by brushing a layer of tacky glue into the bottom of my jar, I then poured in a heap of the moss and pressed it down into the glue. I wasn't completely happy with the coverage though so I ended up pouring in a heap more moss and just leaving it loose in the bottom of the jar. In hindsight you could probably leave out the glue at the start and just go ahead and leave all of the moss loose in the bottom of the jar...
For my branch I used this fake Christmas branch that I got on sale at spotlight. I just chopped off the bit that I needed. It had wire through the centre of it which made it really hard to cut, so I pulled the wire out with pliers and then had another go at chopping it. Much easier without the wire!
Next up I used the interfacing to fuse my fabric scraps back to back, then cut out some teeny little triangles. I hand stitched them into a little bunting garland and then tied it onto the branch.
Using hot glue I stuck the branch into the inside of the jar. It took me a fair few goes to get it right. After each failed attempt I would scrape the dried hot glue off the inside of the glass before giving it another go. I got there eventually!
To get the birds perched nicely on the branch I just squeezed some hot glue onto the bottom of each and placed them onto the branch.
To finish the jar off I traced a circle onto the red fabric, cut it out and then secured it to the lid of the jar with a rubber band. I tied a pretty ribbon around the lid to hide the rubber band and voila - all done!
I'm seriously in love with this little jar. If I had little girls of my own I would definitely be making more of these for their rooms. They're perfectly equal parts pretty, girly and whimsical :)
I've linked this up with Katie, Sherry, Sarah and Carmel for the Fall Pinterest Challenge. Make sure you go and check out what these very talented girls have made for the challenge. There are already hundreds of projects linked up... so much pinspiration!!
If you'd like to see any of the projects I've made for previous pinterest challenge projects you can see them here:
![]() |
| TeePee - Height Chart Ruler - Laundry Gallery - Star Mobile |
Monday, April 2, 2012
Decorating for Easter
In between bouts of horrible gastro (that seems to have effected everyone in this house except Sean) I've managed to get a bit of Easter decorating done.
I haven't gone overboard, but have changed up the dining room side-board to include a nod to all things Easter.
The bunny silhouette was a really simple DIY and it's one of my favourite things.
I started out with some fabric that I had left over from my Christmas Tree Skirt, and I pinned it down onto a board so that it wouldn't move around.
I found a bunny image on google, printed it out onto card stock, added a bit of double sided tape to the back so that it would stay still, and then traced it onto my fabric using a sharpie.
After that I just coloured it in, stuck on a bow with hot glue, popped it into a frame and I was done. Simple, but very sweet.
I think it would look really sweet in a baby girl's nursery too!
Tell me, do you decorate for Easter?
I haven't gone overboard, but have changed up the dining room side-board to include a nod to all things Easter.
The bunny silhouette was a really simple DIY and it's one of my favourite things.
I started out with some fabric that I had left over from my Christmas Tree Skirt, and I pinned it down onto a board so that it wouldn't move around.
I found a bunny image on google, printed it out onto card stock, added a bit of double sided tape to the back so that it would stay still, and then traced it onto my fabric using a sharpie.
After that I just coloured it in, stuck on a bow with hot glue, popped it into a frame and I was done. Simple, but very sweet.
I think it would look really sweet in a baby girl's nursery too!
Tell me, do you decorate for Easter?
Posted by
Tamsyn
at
1:57 PM
26
comments
Labels:
Art,
Craft,
Decorating,
Dining Room,
DIY,
Easter,
Girl's Room,
Tutorial
Subscribe to:
Posts (Atom)