Sunday, December 2, 2012

12 Days of Christmas

I'm very excited to bring you 12 delicious Christmas recipes from some of my favourite bloggers. There are some seriously delicious goodies below. I dare you not to try every single one!!


12. Overnight Egg Nog French Toast from Chef in Training

I've got a batch of the truffles sitting in my fridge and I'm planning on whipping up some of the Peppermint Christmas Candies for Sean (my peppermint loving husband) this afternoon. Do you have a favourite Christmas recipe? Please share it with me :).


Saturday, December 1, 2012

White Chocolate Lemon Truffles

Eleven inspiring bloggers (and me) are joining forces tomorrow to bring you the 12 days of Christmas. Twelve tasty and very Christmasy recipes. Make sure you stop by tomorrow to check out the deliciousness!! 

Every year as soon as Christmas starts to get close, I get the baking bug. Which is crazy, because Christmas round these parts also coincides with the hottest days of the year! These chocolate truffles are the perfect solution, they're delicious, fairly easy to make and you don't need to turn the oven on. It's become a bit of tradition for me,  I make different versions of these for friends and family every year.


I originally found this recipe here and I've changed it up a bit over the years to suit my style :).

Ingredients:
 - 1/3 cup of thickened cream
 -  250g quality white chocolate (I like Nestle Plaistowe), chopped
 - 2 tsp finely grated lemon rind
 - 300g white chocolate melts
 - white sprinkles or flaked coconut

Heat the cream for one minute in a bowl over a simmering pot of water, stirring with a metal spoon.

Add the chopped white chocolate and stir with the metal spoon until it's all melted and smooth.

Remove the bowl from the saucepan and stir in the lemon rind. Cover with cling-wrap and refrigerate until firm (3 - 4 hours).

Line two baking trays with baking paper.

Remove truffle mix from the fridge, and using two teaspoons worth at a time roll into balls.

(If it's hot where you are stick the balls back into the fridge for a further 30 minutes before coating them.)

Put the chocolate melts into a bowl over a simmering pot of water and melt for 4 minutes or until smooth, stirring with a metal spoon.

Using a fork dip each truffle into the melted chocolate to coat. Before the chocolate sets add some sprinkles or coconut to the top of the truffle.

Put them back into the fridge to set.

Eat, share and enjoy!!


Wednesday, November 28, 2012

5 DIY Christmas Ornaments


I love Christmas! It’s easily my favourite time of the year, the food, family, festivities and the chance to fully embrace my other great love - DIY. There is something about Christmas that turns my crafty tendencies into complete overdrive. This year I’ve been busy making my own Christmas ornaments and I’m so excited to share them with you!


These sweet little wreaths are super easy and cheap to make and are perfect for traditional style Christmas decorating.
1.    You’ll need
    - bakers Twine
    - mini hoop (I got mine from spotlight)
    - clay stars (here’s a great recipe)
    - sequins
    - glue gun
    - scissors
    - string for hanging the ornament
2.    Hot glue the end of your twine to the hoop and start wrapping.
3.    Keep wrapping, stopping to add a dab of hot glue to the back every now and again.
4.    Once your hoop is completely covered secure the twine with more hot glue and then glue on your ceramic stars and sequins.
5.         Add some string for hanging and you’re done!


Hang one of these kissing balls in your house and make sure to use it to your advantage!
1. You’ll need:
- styrofoam ball
- christmas fabric
- 2 types of ribbon ( I used one thin and one wide ribbon)
- twine
- Christmas greenery (mistletoe if you can find it)
- scissors
- rubber band
2. Cut a square of fabric big enough to cover your ball (with enough extra to give a nice finish at the top), wrap your ball and secure with twine.
3. add rubber band above the twine and thread a long piece of the thin ribbon under the ball, through the rubber band and tie in a knot at the top for hanging. Add another piece of thin ribbon, crossing over at the bottom as shown and tuck into rubber band. Add more twine to secure the ribbon and remove the rubber band.
4. Tie a pretty bow around the twine.
5. Add leaves and trim the fabric done to look pretty.
6. You’re done, now get kissing!!


These are one of my favourite ornaments this year. They’re so simple to make, but a little time consuming. I recommend putting on a few episodes of your favourite show while you make these (Mad Men wins for me).
1.    You’ll need:
    - sheets of paper (I aged mine using this technique)
    - styrofoam ball
    - ribbon
    - string for hanging
    - scissors
    - hot glue
    - paint brush (or something similarly shaped)
2.    Cut your paper up into little squares (mine were 2cm x 2cm).
3.    Tie a piece of string (I used really thin gold ribbon) in a loop and hot glue to the top of the styrofoam ball.
4.    Fold a piece of paper around the end of your paintbrush, add a dab of hot glue to the point and attach to your ball.
5. Keep going until the entire ball is covered.
6. Tie a pretty bow and then hot glue it to the top of the ball, then step back and admire your creativity :).


These little rope mirrors are perfect if you're planning a beachy or nautical themed Christmas (I also think it could look really sweet hanging inside a dollhouse).
1. You’ll need:
    - small mirror
    - chipboard circle
    - jute rope
    - Christmas ribbon
    - scissors
    - hot glue
    - string for hanging
2. Hot glue your mirror to the centre of your chipboard and then hot glue a piece of ribbon to the chipboard (glue it on facing the wrong way as shown).
3. Cut a piece of jute to size and then glue around the outside of the mirror.
4. Repeat until all of the chipboard is covered.
5. Loop the ribbon over the joins in the jute and hot glue to the back of the circle (adding a piece of string for hanging as you go.
6. Reflect on how clever you are (couldn’t help myself, sorry!!).


These little hoop ornaments are incredibly quick to make and add you can make any shape you like. I’m planning on making one for each of my family members with their initial on them. Sweet and simple :).
1. You’ll need:
- small embroidery hoop
- hessian
- pencil
- cardboard shape to trace (I printed out a star shape and cut around it)
- scissors
- pencil
- sequin strand
- fabric glue
- twine for hanging
2. Cut out a small square of hessian, secure in hoop and then trim down the excessive fabric.
3. Trace your shape onto the fabric.
4. Draw over your pencil line with fabric glue.
5. Carefully position your strand of sequins along the glue lines.
6. Add some twine and hang and admire!

So there you have it, 5 easy DIY Christmas decorations to make this year. Let me know if you make any of these for yourself, I would love to see how the turn out.


Toddler Tuesday - Wobbly Jellyfish

Can you all do me a favour and pretend it's still Tuesday? Toddler Wednesday doesn't quite have the same ring to it ;).  I had this post ready to go for yesterday and completely forgot to post it. Baby-brain, an adorable newborn and some serious sleep deprivation will do that to you!

This week I've been in full swing getting things ready for Max's Fishy Party this weekend. I made some decorations using streamers and had a bunch left over, so Max and I decided to make them into wobbly jellyfish. There was a bit of confusion at first because Max thought I was talking about the kind of wobbly jelly that you eat, but we got through that and had a blast making these :).

You'll need:
 - a paper plate
 - paint (we mixed ours with water to get a watery finish)
 - paintbrush
 - scissors
 - streamers
 - googly eyes
 - sticky tape
 - hole puncher
 - string


We started out by mixing some craft paint with water to give us two shades of watery blue, then Max got down to the serious task of painting the paper plates. (Note the tongue poking out in the second photo, I love that he does that when he's concentrating!).


After putting the paper plates outside in the sun to dry we (and I mean Max - aka Mr Independent) cut some jellyfish tentacles out of our streamers and cello.


We (and this time I helped, which didn't go down to well with Max, but he got over it quickly) cut the paper plate in half to give us two jellyfish bodies.


 Then we flipped out plates over and Max stuck the tentacles on with sticky tape.


Max used the 'cruncher' to make a hole in the top of the jellyfish and I tied through some string.


Last up Max chose some googly eyes and stuck them onto the jellyfish with glue.


And we were done, two wobbly jellyfish!!


They were so easy and fun that I'm almost tempted to set up a station for the kids to make them at Max's party. Almost, but not quite tempted enough... The idea of ten kids armed with paint freaks me out more than a little bit :).


Monday, November 26, 2012

Home with Lincoln


Today is the one week anniversary of us bringing Lincoln home. A whole week! It feels like longer, but in a good way.


Lincoln has slotted right into our little family and some of the time it feels like he's always been here. Although one night of hourly feeds was a definite reminder that we have a newborn!


Except for that one crazy night we haven't been doing too badly in the sleep department. Lincoln generally wakes up to feed twice or three times per night. These last couple of mornings he's been waking up at 5am to feed and then staying awake. Probably a good thing though, it gives me a few more hours each day to get things done!


Feeding him is giving me some grief at the moment. In the last couple of days Lincoln has gone from being a champion feeder to screaming in pain every few minutes of a feed. I think he's taking in air when he eats and is getting a sore belly, but that's just a guess I really have no idea. I'm trying out different ways of feeding him and trying not to get worked up about it, but it breaks my heart. If you have any tips for me, I'm all ears. I was only able to breastfeed Max for four weeks before we had major issues and I really don't want the same thing to happen again.


The feeding issues combined with a more than generous dose of the baby blues has got me bursting into tears regularly. Sometimes for absolutely no reason at all. (Sorry to those friends that have come round wanting to see a cute baby and been faced with a crying thirty year old...).


I've had heaps of help from our families, which is definitely making things easier. Sean's Mum stayed with us last week and whilst I was in hospital, my Mum is here this week and my sister has been dropping everything to come and help me out on a very regular basis. I honestly think I would be a complete and utter wreck with out them.


I'm working on Lincoln's birth story at the moment and can't wait to share it. I ended up having an elective c-section, but after finding out Linc was 4.5 kilos it took away some of the disappointment of not getting to have a vbac. And really once you have the baby in your arms none of it seems to matter anyway :)


Wednesday, November 21, 2012

Lincoln


Introducing my gorgeous baby boy Lincoln.

Lincoln was born last Wednesday and has been making us smile with joy ever since. We're home from the hospital now and settling in. Most importantly, Max absolutely adores him and loves to talk to him, kiss him and smell him :)

More details to come soon...


PS. We've announced the winners of the $400 Visa Gift Card Giveaway - click here to see who won.


Tuesday, November 13, 2012

Plane Party - Max's 2nd Birthday

Have you entered the $400 Visa Gift Card giveaway yet? There's only two days left to enter! If you haven't go do it right now and then come back and read this post!

This week I am *officially* on maternity leave, so I'll be re-posting a couple of favourites from my archives.

Seeing as I'm in the midst of getting everything ready for Max's 3rd birthday I though I would share the details from his second birthday plane party. Enjoy!


***


On Saturday we celebrated Max's 2nd birthday with a plane party. The whole event went of without a hitch and Max had a really good time. I was really impressed that with a bunch of toddlers we didn't have one tantrum. A miracle!

I think the favourite activity for the babies was just sitting around and playing with toys and the favourite for the adults was the desert buffet.


The Invitations - designed and made by me
Afternoon Tea Table
Buttered popcorn, mini oreos, mini crackers, sandwiches, carrot sticks in dip and fruit skewers.

Plane Shaped Sandwiches
 
Drinks Station
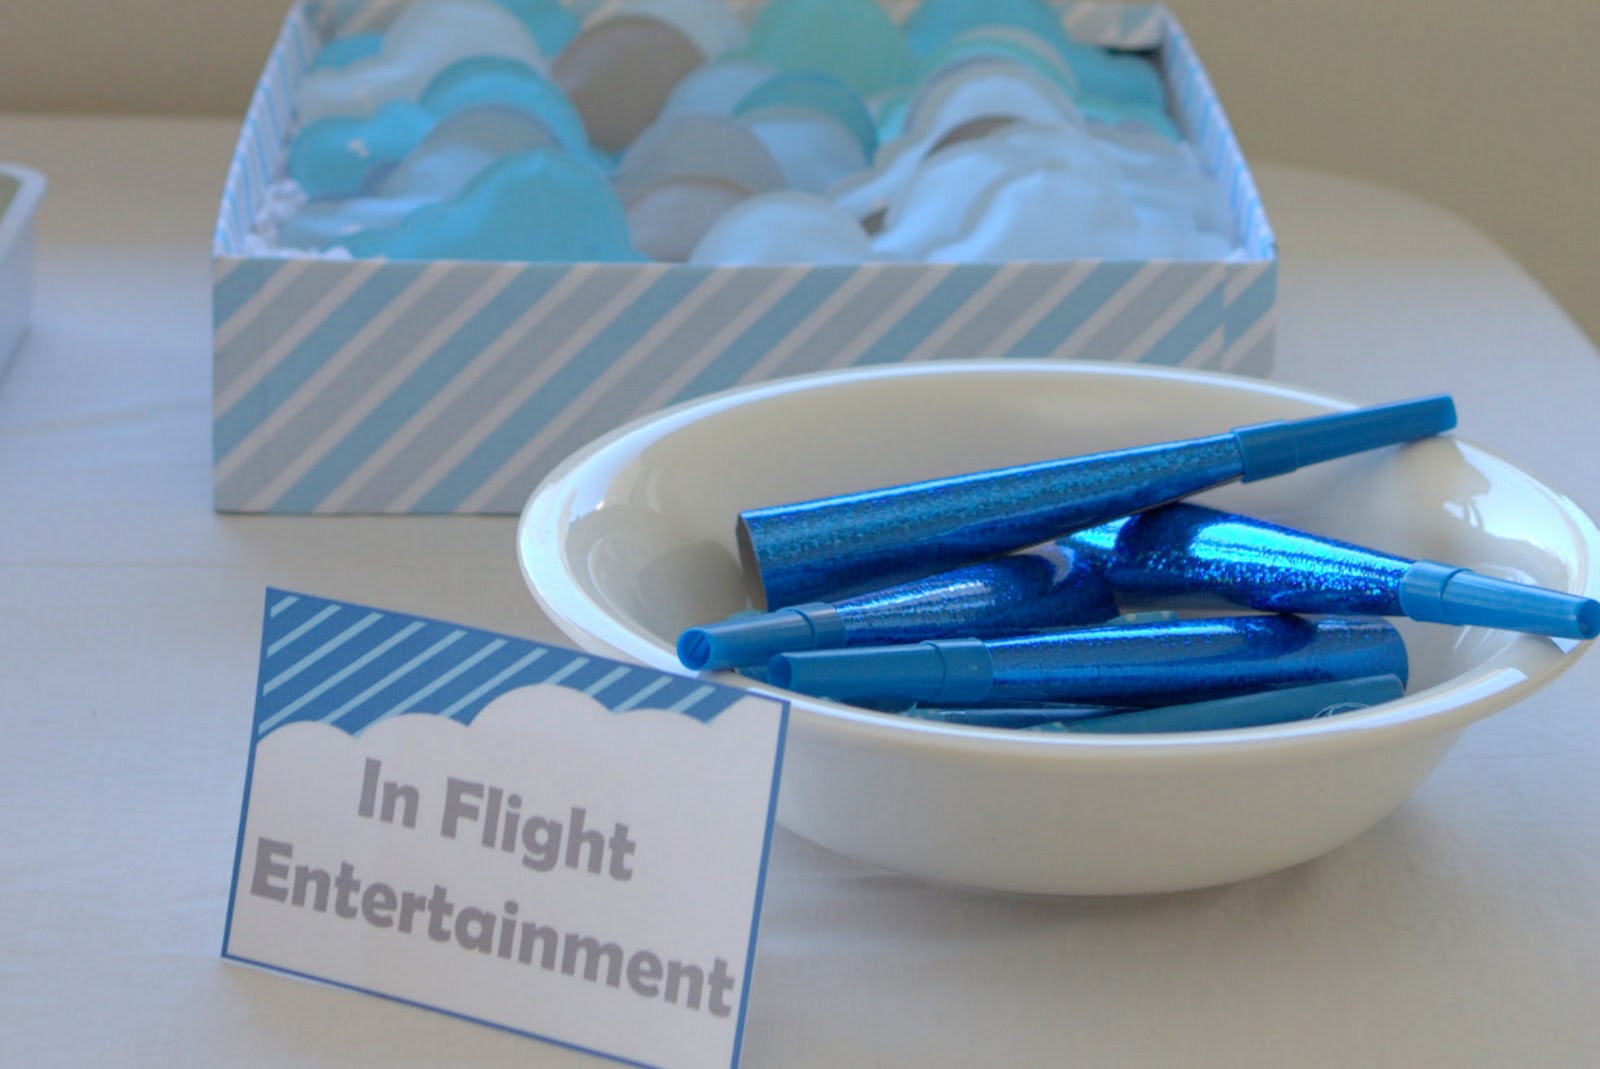
Simple entertainment
Cloud Favours - Paper packages with mini mm's sewn inside

The Desert Table - with mini cheesecakes in jars, chocolates, jelly in fruit, oreo cream filled cake, lollies, and iced coffee for the adults.


Straws and Milk Bottles from The Little Big Company
The Cake
Cutting the Cake

Present Table

My Birthday Boy

For games we played pass the parcel and Sean also brought out his guitar for a music session with the kiddos. My Mum took photos of both but I haven't got the photos off her yet.

It really was a great day. I can't wait for next year!

***