Showing posts with label Laundry. Show all posts

Thursday, November 3, 2011

Pinterest Challenge # 2


Pinterest Challenge is just about my favourite thing in the whole wide world, which means I'm crazy excited that it's challenge time again!

Pinterest Challenge was dreamed up by the geniuses that are Katie and Sherry. This time round it's also being hosted by Ana and Erin.


For a little while now I've been gathering inspiration to do a mini gallery wall for the blank wall in my laundry. I wanted something that was cute, but also practical. I loved the idea of having a pinboard for odd socks, a hook for Cooper's lead, a stain removal chart for easy reference, along with some pretty art.

While I was getting geared up to put the mini gallery together I went back to my Pinterest boards to find the inspiration I had posted.

Original Sources: 1.2.3.4


Here's how my wall came together:


And here's the rundown on what I did...


I did some stamping with yarn wrapped blocks for the Erin's favour bags and I really liked how it turned out, so I decided to do some more stamping. This time I used upholstery fabric and screen printing paint. Then I wrapped the fabric around some cork board and put it into a frame I had spray painted white.


The stain removal guide was really easy. I just printed this free printable onto card stock and popped it into a frame.


The painting of Busselton Jetty was given to me years ago and I already had it framed and ready to go.


The number three was also something I had already done. It was inspired by the Seven that John from YHL did. I posted about it here.


The 'love is everything' picture was really fun and easy to make. I just framed a piece of fabric (cut off a coles bag) and then wrote 'Love is Everything' onto the glass. Simple, but I really love how it turned out.


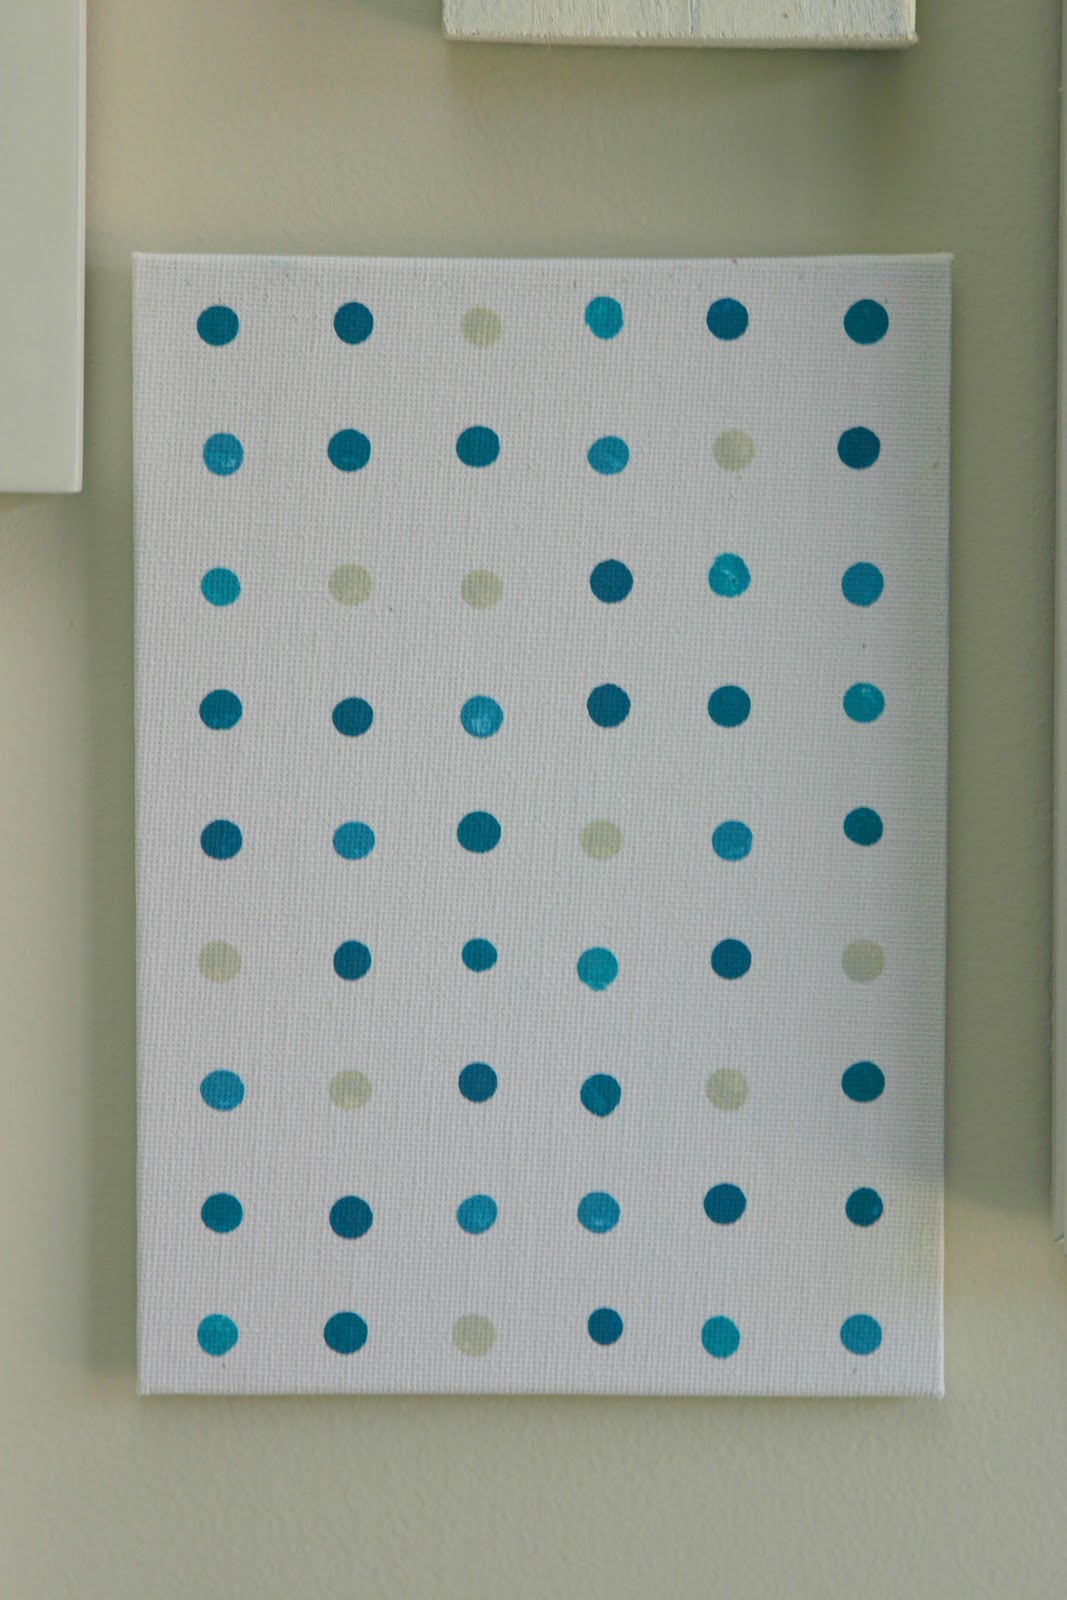
The spotty painting was inspired by the Eraser Stamping DIY that I pinned. I measured up my little canvas so that my circles would be nice and even, then took a pencil with an eraser that had never been used and stamped out my pattern. Simple, but effective.

And last, but not least I hung up an empty frame and stuck a hook to the wall inside of it. The hook I have in there at the moment is a temporary one, I haven't found the perfect one yet!


I'm really happy with how the laundry is coming together. Next on my list is a new washer and dryer that stack on top of each other so that I can add in some more bench space. That will probably be at least a year away though. Unless my blog suddenly grows into an empire and I get sponsered by LG. Hey, a girl can dream right!!


So there you have it, my project for Pinterest Challenge number 2. I'm heading over to check out what everyone else has done, and if you haven't already I highly recommend you do to. Prepare to be inspired!


PS. The tutorial for the Chevron Doormat is here, and the one for the pallet art is here.

Thursday, August 11, 2011

Pallet Art

Out the back of our place we have a couple of pallets. I haven't been able to bring myself to throw them out, they scream DIY to me!


A while back I tried to use one to make a side table. I was only able to salvage short pieces of timber though because the nails had rusted leaving the longer bits unusable. Bummer.

Last week, inspired by this pin, I decided to make a piece of art to hang in the laundry. Although I decided to have a quote on my boards instead of a picture.

You can kind of see the corner of it here in the post I did about my floor mat.

Here's how it came together:

I got together the couple of pieces of timber and sawed up a couple more. They were absolutely filthy from being outside for so long so I gave them a good scrub and put them back out in the sun to dry.


Now, when I go into a DIY I generally don't think more than one step ahead. It probably would be a good idea to plan the whole thing out first and then get started, but it's just not how my little brain works :)

So when it came time to join up the boards I couldn't decide if I should glue, nail or screw the support plank into the other planks.

First up I decided to use nails. The top two on each side went in ok, but as I started hammering in more nails the top ones would pop right out! Definitely not what I wanted.

I changed tack and decided to glue the boards down first. I used a stack of old text books to hold down the boards while the glue dried (I always knew the would come in handy!).


Once the glue was dry I decided to add screws as well. They went in a lot better than the nails and in no time I had a canvas to start working on.


I decided to use white paint and a letter stamps to write out my quote. I did a practice run on the back of the boards while the glue was drying and I liked how it looked.

Instead of using my normal clear acrylic block to do the stamping I used a clear plastic lid. I did this because I was often stamping across the join in to boards and wanted something that had enough give for me to press into the join.


I also started each word from the middle and worked out so that my mid-line stayed nice and neat.

 And here we go. My new pallet art! It's perfect for out laundry :)


Thursday, August 4, 2011

Another Cheap and Cheerful DIY

Doormats.

I'm generally not a fan. I understand they have a purpose, but they can be so ugly. Generally I don't mind them outside a front door, but just not a fan of them inside the house.

The problem we have at our house is we don't have anywhere to put them outside. No front deck, no back deck and no landscaping in the backyard. One day we'll have all those things, but in the meantime we have lots of dirt constantly being walked into our home.

After much disagreement from me, Sean went out and bought us two doormats. One that sits just inside the front door and another that sits at the sliding door in the laundry. He did his best, and they definitely weren't as ugly as I was expecting. But I still wasn't a fan.


The other day when I was browsing pinterest I saw a couple of tutorials for chevron rugs and picnic blankets. Cue light-bulb moment! Seeing as I didn't like the doormats anyway, I really didn't have much to lose by giving them a coat of paint...

The first mat got painted a really cheerful blue colour and found it's way to the laundry....


The second mat I did in a slightly more sensible navy for the front door...


So, what do you think? Have you ever painted a rug, floor mat or picnic blanket?


I'm linking up with the Inspiration Board over at Homework


Saturday, April 2, 2011

Laundry


Dear Sean,

If your plan is to convince me not to do laundry, the knee high grass under the clothes line is perfect.

Love, Me

PS. I love you (even though you hate gardening!)