Showing posts with label Boy's Room. Show all posts

Monday, October 20, 2014

DIY Bookshelves

Ever since I finished Lincoln's nursery I have been working away on finishing Max's big boy room. I'm not quite there yet, but it's getting very, very close! I get so much satisfaction from working on Max's room because he loves seeing the little changes and gets genuinely excited that I'm making his room into something special for him.


One of the projects I've recently ticked off his list are these DIY bookshelves. For ages now I've been in love with the idea of using Ikea Ribba Ledges as bookshelves. I've seen so many gorgeous shots on Instagram showing how people have styled them into their kids rooms. The only problem I had was that the ledges came in two lengths, neither of which were perfect for the space I wanted to fill. So I bit the bullet and built some. They were super simple to make, and worked out really cost effective. The only drama I had was the time it took me to make, prep and paint them. Buying the Ikea ones would have cost about the same and been much quicker, but you do what you have to do!


As soon as I realised I was going to need to make them I searched Pinterest for some inspiration and came across this tutorial. I'm not going to rehash the details of how I made them because I pretty much followed Cindy's instructions exactly. I got them finished a couple of days before Elliot was born and then Sean installed them for me a few weeks later.


Max loves them and so do I!! Next up I'll be adding a few finishing touches to his room and then it will be all done. Can't wait to share more!

Tuesday, October 14, 2014

Lincoln's Nursery


This post has been a long time coming, but I am finally sharing all the photos and details from Lincoln's sweet blue nursery. There's nothing like a new baby to make you realise all the things you haven't done yet!

Link's room is my favourite place in our house, it's so serene and calm. I think simple blue and white will always be a winner with me.


The Boori Sleigh Cot is a much loved hand-me-down from my beautiful sister. Max used it when he was a baby, Lincoln is in it now and it will eventually be Elliot's when he's ready to move out of his bassinet. The cot is made up with a stunning quilt made by my very clever mum, a 'love' and star cushion from my shop, a gorgeous Robin and Mould cloud cushion, a diy pom pom trim cushion and Lincoln's much loved blanket (that he has called nee-nee for as long as he has been able to talk!).


The felt ball rug is a custom order from etsy, I love that you can choose any colour combination you like and have it made up into a gorgeous statement piece. The whale blanket that Link has is another favourite of mine from Goo Collection and is so perfect in this room.


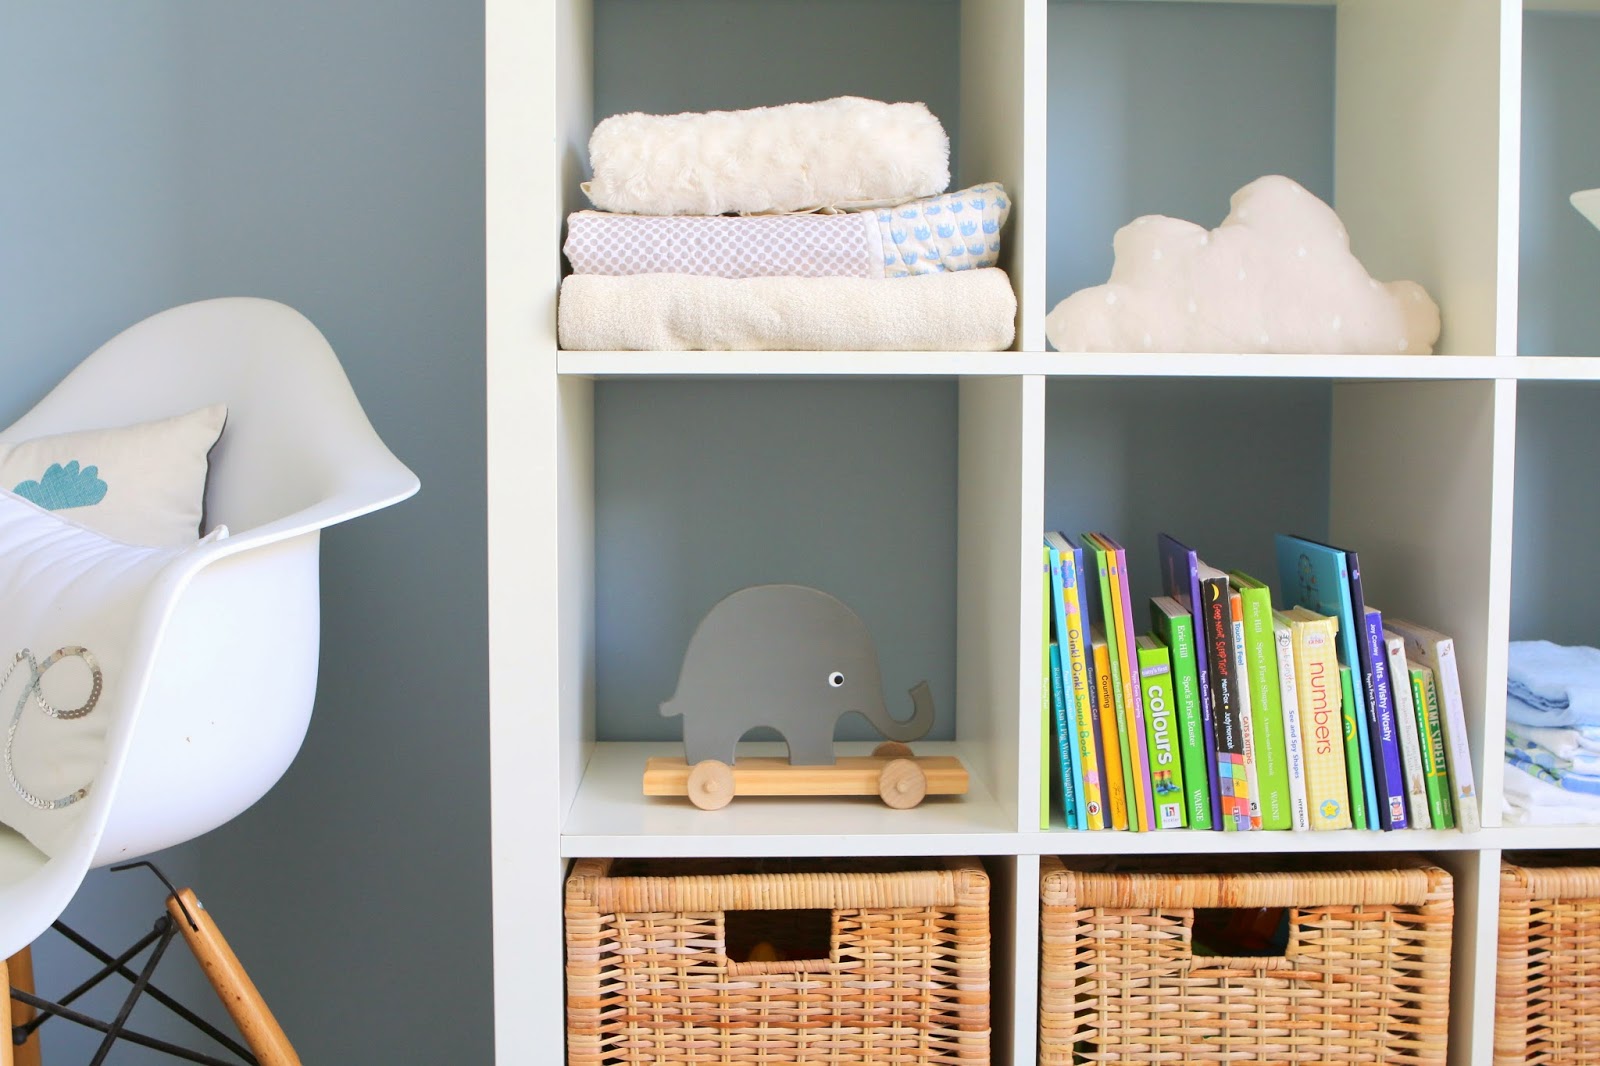
The ikea expedit is another hand-me-down, I originally had it in here when this was Max's room and it stayed when Link moved in. It's filled with so many things that he loves! Link has also really fallen in love with books lately and is always pulling books out and bringing them to us to read. Most days we end up sitting on the felt ball rug and reading together at least five or six times. The baskets down the bottom hold most of his toys, they're sorted by type so that we can find things easily. One for blocks, another for cars, planes etc, another for noisy toys and the last basket holds cuddly toys.


I made this cloud mobile as the room was coming together and I absolutely love how it turned out. Some of these may end up in my shop soon, stay tuned!


This little corner of Link's room is hands down my favourite! I picked the dresser up second hand from an op shop, it was originally dark brown but I knew it would be perfect as soon as I saw it. I primed it, painted it with about a million coats of paint and switched out the brass drawer pulls for silver ones.

The mobile above the table was a diy I did years ago (again it was originally for Max's room), once we had ceiling fans installed I moved it from the centre of the room to it's current location. Lincoln adores it and loves to sing twinkle twinkle with us as we change him.

The mini gallery wall is full of special pieces of art, the whale is a custom ink original by Rhi from Hummingbird's Song and the 'shine like the stars' is from another Aussie seller Billy and Scarlet.


So there we have it, at long last Lincoln's room is up on the blog!! In a couple of months I will be transforming this room into a new 'big boy' bedroom for him but this sweet blue and white space will always be a favourite of mine.


Thursday, March 27, 2014

Lincoln Loves Treasures (plus a Giveaway & Nursery photos!)


 ** This post is sponsored by Nuffnang and Treasures Nappies - All opinions belong to me, and all adorable chubby thighs belong to Lincoln**

A couple of weeks back I was asked if I would try Treasures Nappies, a thirty year old, leading New Zealand brand that has just hit the shelves here in Australia. Honestly, my first reaction was to say 'thanks, but no thanks'. I tried out a few brands of nappies when Max was little, found the ones I liked and have stuck with them ever since. I didn't even bother trying anything new when Link came along, I just stayed with what I knew. Then I got to thinking, soon I will have two babies in nappies... Which means double the cost (and double the poo...). I figured now was probably as good a time as any to give it a shot.

As I heard a little more about the nappies I actually started to get excited about giving them a try. My sister told me that she used (and loved them) when she was living back home in good old NZ and I found out they come in at a lower price point than my current brand. A recommendation and the chance to save money, win win!

So here's what happened when Link and I took them for a test run.

First Up - The Acid Test
The nappies arrived just before Link's naptime, so I figured that was as good a time as any to get started. I changed Link's cute little butt into one and put him down for his nap. Two hours later I heard him calling out 'Mum, Mum, Mum, Poo Poo, Poo Poo (as he does!). By the way it kills me that he's dropped the 'Mumma' and switched to 'Mum' so young. I'm sure Max was still calling me 'Mumma' when he was three! Anyway I went in to pick him up and was hit with a wave of poo so I knew it was going to be a bad one. And it was! It was one of those explosive poos that go all the way up the back, and the front of the nappy. Not great, but a perfect chance to see what Treasures could handle. I was seriously surprised (and impressed) when there was no leakage at all. Not one tiny bit. The entire mess was completely contained in the nappy. We were off to a very good start!


Round Two - The Overnighter
Feeling confident that the nappies could handle such a big poo, I decided to put them to the overnight test. Link still isn't a great sleeper and often wakes up in the night wanting a bottle. When he does I don't change him because it gets him too alert, I just feed him and get him back into bed as quickly as possible. Good for my sanity, but it does mean a really wet nappy in the morning. The two things I was hoping for would be that the nappy wouldn't leak (obviously), but also that there wouldn't be a really strong smell. Some of the other brands I tried with Max were terrible for that. When I went in and picked Link up in the morning the Treasures passed both with flying colours, they easily contained everything and there was no nasty all night wee smell. I've used them every night since and am loving them!


Last Up - The Pants Test (aka my baby has a big butt)
Link is a little chunky, in the good way that some babies are. He has deliciously chubby thighs and a big butt to match. Once you add in a bulky nappy some pants can be a bit of a tight squeeze, especially since a lot of his clothes are hand-me-downs and Max always looked best in slim fit clothes. As soon as I put the first Treasures on him I knew they were going to be a perfect fit. I actually found them to be a lot less bulky than our usual ones and I had no problems getting his pants on to his squishy little behind. Three out of three!


So even though I started out quite skeptical and very loyal to another brand I have definitely been won over. Their quality is on-par with the more expensive brands, they're cheaper and I actually like the look and feel of them more than our previous ones. Totally convinced! Plus they're stocked at IGA stores, which is super convenient for me as we have one just down the road from us.

Click the photo to visit the Treasures Page and find out more

Now here's the extra exciting part! I have a Treasures Nappies prize pack to give away valued at over $75. All you have to do is leave a comment (and your email address) sharing a personal tip on how to keep children sleeping through the night with the hashtag #sleepingtreasures. The winner will be drawn after 5pm AEST on 9 April 2014, announced on this post and contacted by email. Don't forget to share your experience with Treasures on facebook, twitter, instagram etc using #sleepingtreasures. Let's get the word out about these great little nappies!

{Click here for the full terms and conditions of the competition.}


Thursday, March 13, 2014

Three Times the Charm

So the thing is, when you neglect your blog you may also neglect to share the most important news you've had all year. You may have already seen this seeing as I did post it on instagram and facebook, but just in case you missed it...


We're expecting baby number three!!

I'm 16 weeks along now and thankfully most of the first trimester symptoms have passed. To be fair though, the pregnancy itself has been a lot easier than last time. I think it's been more about having a baby and a preschooler to look after and a growing business to run that have left me super exhausted.

In the last couple of days I've started feeling the little peanut moving around, which I love so much! Each night when I go to bed I'll just lie there for a while hoping to feel it move. Oh and when typing that I automatically wrote 'him' and had to go back and change it to 'it'. Sean and I both automatically think of this one as another little boy, it's so hard to imagine anything else! A couple more weeks and we will know for sure though :).

Thinking it's a boy hasn't stopped me from daydreaming about decorating a girls room! I have so many ideas that if it is a girl I have no idea how I would actually narrow things done to one design! I'm sure I won't have to worry about that though, and with Sherry and Katie recently sharing two very gorgeous boys rooms I'm definitely not short of inspiration for another bouncing baby boy.

Max is excited about getting another brother (he refuses to believe that it could be a girl too!), part of the excitement comes from the fact that Link won't be the baby anymore because he can't wait for Lincoln to grow up enough to play with him. He asks me all the time when Link will stop being a baby and turn into a 'real kid'. Poor little Link has absolutely no idea what's going on. He will be about 21 months when the baby arrives and I'm not sure that he will really understand until he actually sees the baby come home with us. That's probably what I'm most nervous about, Link is still my baby and I don't want him to feel replaced.

All in all everything is great over here in the Riley household and I promise I will be back sooner rather than later with another post!

Thursday, February 28, 2013

DIY Headboard and Bed Make-Over


The bed in Max's room at the moment is uggg-lllly. It's functional and actually used to be Sean's bed when he was (a lot) younger, but there is absolutely nothing attractive about it... For ages now I've been planning on making it over, the Pinterest Challenge was just the kick in the butt I needed to get it done.


I ambitiously gave myself a day to do the make-over and even thought to myself 'I might whip up a new doona for the bed if I have time'. Ummm no... It took me two days to get the whole thing done, but now that's it's finished I'm so glad I finally tackled it!

Here's what I started with...


A king single ensemble. Like I said, functional but not exactly stylin'.

I split the project into two parts. First up I covered the base of the ensemble and added legs, then I made a headboard. I got my inspiration from these three pins below.

{source}

{source}
{source}
Materials:
  • linen
  • cheap white poplin 
  • batting
  • 2inch thick foam
  • mdf board
  • button covering kit
  • furniture legs


Tools
  • screwdriver
  • drill bit
  • staple gun and staples
  • embroidery needle
  • embroidery thread
  • nails
  • plyers
  • hammer

I started out by covering the base of the ensemble with my cheap poplin, which I used because I didn't want that bright pattern showing through the loose weave of my linen. I pinned each strip in place and then went around with my staple gun to secure it to the underside and top of the base.


I then did the same thing with with the linen, only I paid a bit more attention to the detail and made sure the corners looked neat and tidy.

As I was going around securing the linen I noticed the staples weren't holding the fabric to the top side of the base. Underneath was fine because the staples went straight into plywood, but on top they were only going into fabric which meant they came out really easily. I ended up using nails for the top because they went through the fabric and back down into the ply. In other words I made things up as I went and wished for the best!!


Once that was all done I attached the legs and moved on to the headboard.


I measured up Max's bed before hitting up Bunnings and decided that I wanted my mdf to be 1100 x 1100 and got them to cut it in store for me. Lucky I did, there is no way I would have fit anything bigger into the back of my car :).

To start off the headboard I measured out where I wanted my buttons and then drilled holes through the mdf (gorgeous hand model used as I was behind the camera, thanks J!!).


    I though about using spray adhesive to stick the foam to the board, but ended up using fabric glue. It was raining outside and the house was full of people so I didn't want to fume up the place. No biggie though the fabric glue worked just fine.


    Then it was just a matter of covering the board and foam with batting, then my el-cheapo lining and finally my linen (I used the poplin underneath the linen again because I didn't want the batting poking through the weave of the fabric).


    Then came the most time consuming and difficult part. Covering the buttons and sewing them onto the headboard to get that tufted look that I love so much! Soooo much harder than I expected, but so definitely worth it!

    Covering the buttons was just a matter of following the instructions on the packet, attaching them was a whole other ball game... After a fair bit of trial and error I worked out the best way to do it.

    I threaded the needle with embroidery thread and then tied it into a loop. Then I tied it onto the button. I didn't take a photo, but if you can picture the needle with a decent amount of thick thread on it and then a button tied onto the very end of the thread.

    To get the buttons in the right place I pushed a nail through the pre-drilled holes in the back of the board, felt where the point of the nail touched my fabric and then pushed my needle and thread (with the button attached) up through the the fabric, batting and foam etc until it came out the back of the board. With one hand pushing my needle through, and pliers in the other hand I grabbed onto the needle and pulled it right the way through. Then I would tie a big knot in the thread, pull it as tight as possible and secure it with staples.


    That probably made no sense what-so-ever... If you want to give this a go and have no idea what I'm on about email me and I'll try and explain it better :)

    I'm sooooooo happy with how it turned out and Max absolutely loves it! He knows it's the same bed, but he still likes to call it his 'new bed' and he's so excited to go to bed in it tonight. The real test will be whether or not he stays in there the whole night I guess!


    Phew, now that I finally have it finished I'm linking up with Katie, Sherry, Megan and Michelle (and checking out all of the amazing projects that have been shared).

    Thanks for reading!!


    {If you would like to see any of my previous pinterest challenge projects you can see them below}

    {link}
    {link}
    {link}
    {link}
    {link}