Showing posts with label Dining Room. Show all posts

Tuesday, April 24, 2012

Paint Dipped Vase

Back before Easter I jumped on the paint-dipped bandwagon and DIYed a vase. I am finally getting around to sharing it, better late than never right!?

You can see the vase here on my Easter decorated sideboard...


I started out with a vase that I picked up from Vinnies (local thrift shop), it was originally $5 but I got it for $2.50 in a half price sale. Bargain!!

It was black when I bought it and my only plan was to spray paint it white. Unfortunately though, my bad habit of buying cheap spray paint from the dollar store caught up with me. For whatever reason there was something wrong with the can of paint. When I sprayed the vase the paint came out all chunky and left a gritty residue all over the vase. I probably could have done something to remove the paint, but it felt so horrible when I touched it so I put it in my decorating closet and forgot about it.

You can't tell in this photo but the paint job is patchy and gritty.

When I was getting ready to decorate for Easter I went looking around the house for something that was about 2/3s the height of the bunny frame and found the vase.

Straight away, I knew that I wanted to wrap it in jute twine and then give it a paint dipped look.

I started out by wrapping the whole thing in twine. I started up at the top and using hot-glue I secured the twine as I went along.


I ran out of twine about 2/3s of the way down the vase and had to go and buy some more. The new twine was a bit different to the old stuff and didn't seem to be as thick. I didn't worry about it though seeing as that part of the twine would be painted over anyway.


When it came time to do the paint dipped part of the vase I cheated and used a paint-brush. It seemed really wasteful to pour out a big tub of paint. I think my way of doing it gave just as good a result.


I started out by roughly painting a line at the point that I wanted the paint to go to, and then painted up to that line.  I did three thick coats of paint, letting each coat touch dry first.


The end result looks really good. The paint is nice and thick, with really good coverage and it really does look as though it's been dipped in a tub of paint.

I think I am addicted to the paint dipped look now! I keep seeing things around the house that I want to paint. Wooden spoons, chair legs, baskets... nothing is safe!!


Monday, April 2, 2012

Decorating for Easter

In between bouts of horrible gastro (that seems to have effected everyone in this house except Sean) I've managed to get a bit of Easter decorating done.

I haven't gone overboard, but have changed up the dining room side-board to include a nod to all things Easter.


The bunny silhouette was a really simple DIY and it's one of my favourite things.


I started out with some fabric that I had left over from my Christmas Tree Skirt, and I pinned it down onto a board so that it wouldn't move around.


I found a bunny image on google, printed it out onto card stock, added a bit of double sided tape to the back so that it would stay still, and then traced it onto my fabric using a sharpie.


After that I just coloured it in, stuck on a bow with hot glue, popped it into a frame and I was done. Simple, but very sweet.


I think it would look really sweet in a baby girl's nursery too!

Tell me, do you decorate for Easter?


Tuesday, December 13, 2011

A Blue & White Christmas

Finally! My Christmas decorating is done and I have gotten around to taking photos :)

As I mentioned earlier in the month, I decided on a blue and white theme, but also included nature inspired elements. I wanted to keep an Aussie feel about it all.

For the front door I made a really simple wreath from sticks and hot glue. I just went down to the 'carefully cultivated to look like true-blue bush' nature reserve near my place and picked up a bag full of sticks off the ground.


I like it, but I think I might go with something a bit more traditional next year.

I decided to put the tree up in the dining room this year. So that ended up being the room that got the most Christmasing (yes that definitely is a word, regardless of what spell check says). Keep in mind though our house is open plan, so really the whole place feels Christmasy :)


I diy'ed a lot of the ornaments and other bits and pieces this year. I'll do a post tomorrow with more details about each of them.


I also made this tiny little Christmas village out of air-dry clay, and it sits on the window sill in the dining room.


In the kitchen I wiped down my chalkboard and then wrote up the words to 'away in a manger', one of my favourite Christmas Carols.


In the main living area I added in a few extra Christmas decorations. A bowl of baubles and my gorgeous Christmas spider (courtesy of Tanya from dans le townhouse). I hung heaps of my diy clay stars on the potted tree next to our picture window, and I added more lights and decorations in our wall cut out.


So there you have it. My decorations for Christmas 2011. Don't forget to check back in tomorrow for some DIYs :)


Thursday, September 15, 2011

Dining Room

You might have noticed that I haven't yet posted photos of our finished tiling... That's because we might have run out of tiles. Oops!

We've ordered the extra couple of boxes that we need and Sean's parents are coming down on the weekend to help us get things finished off. In the meantime we have furniture in strange places and piles of tiling things in the corners. But hey, it's still an improvement on concrete floors!

The tiling in our dining room is completely done, along with the grouting and silicone (caulking).


Obviously we need to hang art on the walls and get some bigger furniture, but it's still a big improvement.

In honour of having the room tiled I made another piece of DIY art. This one was inspired by Sherry (again!) and is just done with paint-chips and a frame I already had at home. I love the colours and I like how it brightens up the space.


Hopefully by Monday morning I will have some photos of the rest of the tiling :)

Tuesday, June 28, 2011

Making Over My Chairs

I'm reposting this DIY from my previous blog. I was going through the archives last night and realised how much impact this tiny little change has had on our dining room. Enjoy!!

.................................

About five years ago my Dad gave us his old dining room table and chairs, he'd only had the set for a couple of years and it's still in great condition.

It's really nice, but isn't really the right style for our new house. However replacing it is not a priority right now {it's pretty much at the bottom of the list}, so I decided to have a go at recovering the cushions.

I had another reason for doing so as well... a couple of years ago I was resting the iron on one of the chairs and it tipped over and burnt a whole right through one of the covers. I've used chair covers on the chairs for a few years to hide it, but I'm tired of how they look.

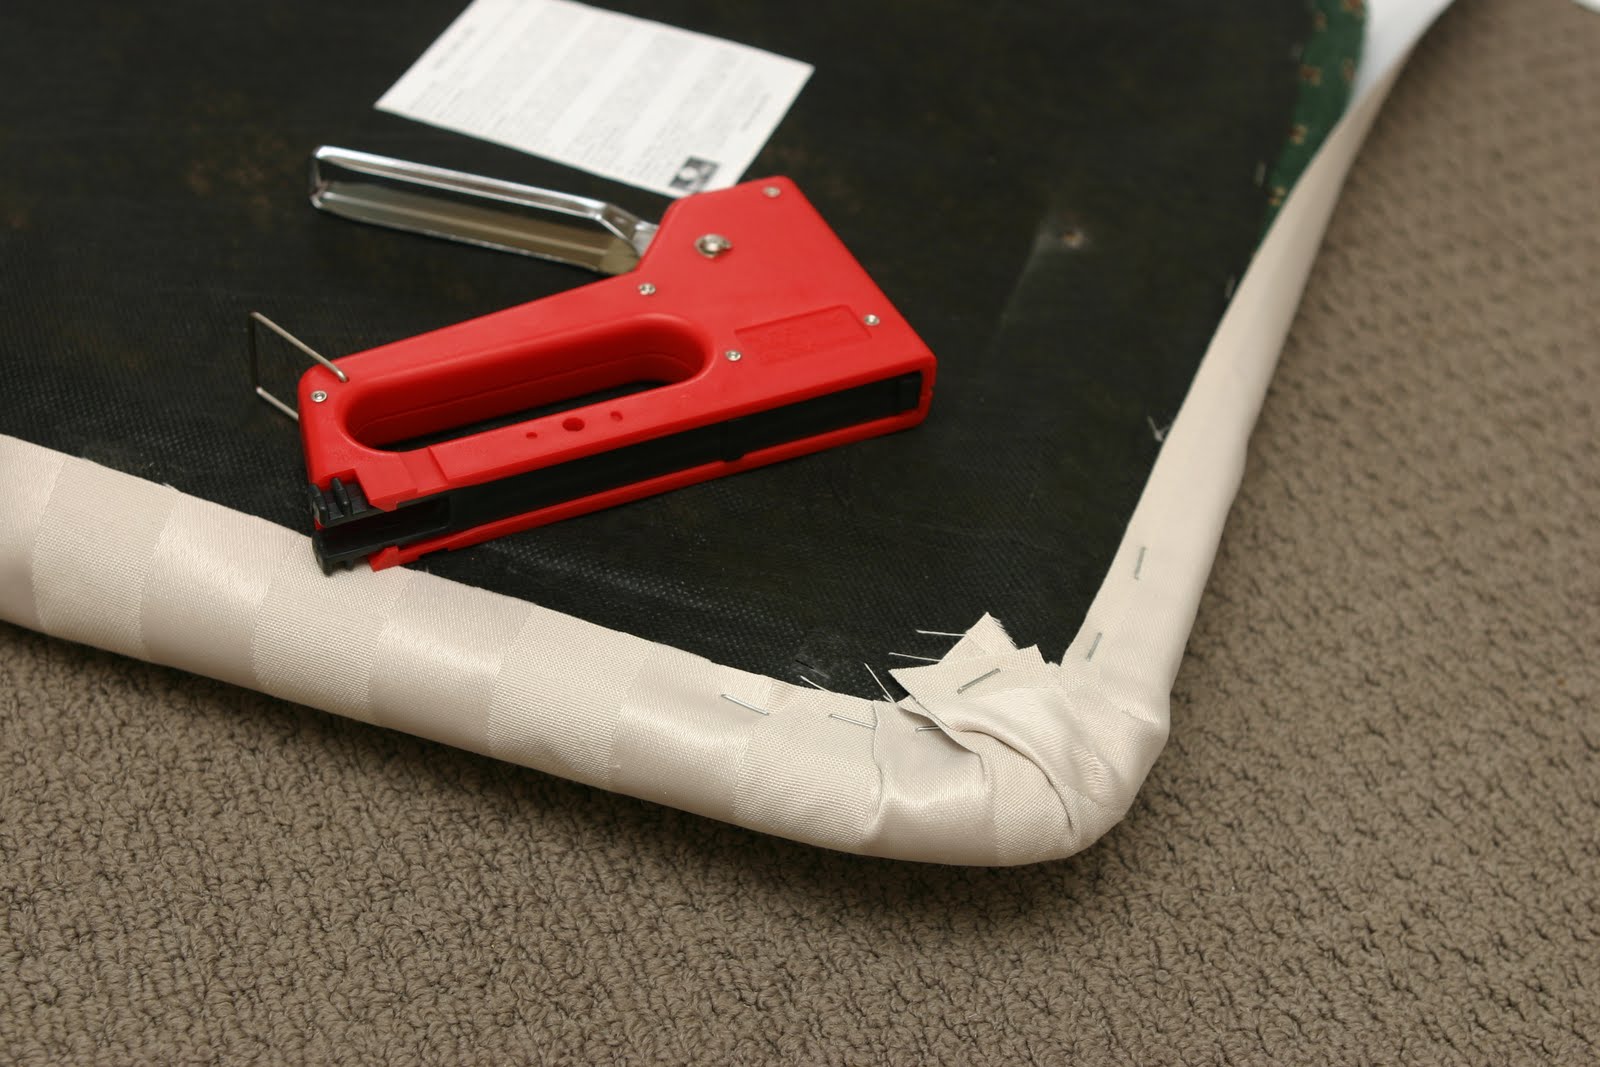
I bought the fabric from spotlight along with a cheap staple gun and set about recovering them.

It was really simple. I just unscrewed the cushions from the base.


Measured out how much fabric I would need.


and folded and stapled.


Once the covering was done I just screwed the cushions back on and sprayed them with a waterproofing spray to try and give them some protection from dirt, food and cat fur.

I'm reasonably happy with how the turned out. They're not perfect, but they'll do for now. I'm kind of thinking that I might like to paint the chairs white and then recover them {again} with a fabric that has some colour in it. {Like this, from here}


But I want to wait until we have tiles down first so that I have a better idea of what the dining room is going to look like.

Ta-da, my first major DIY!

........................

I hope you liked my little trip down memory lane... Regular posts will resume tomorrow :)